YOLO 객체 탐지 튜토리얼
Ultralytics YOLOv11로 커스텀 객체 탐지 모델을 학습하는 튜토리얼입니다. 실제 데이터셋을 Platform에 업로드하고 coco128.yaml로 경로를 설정하는 방법을 학습합니다.
- MNIST: 런타임 데이터 다운로드, Empty Dataset 사용 → MNIST 튜토리얼 참조
- YOLO: 실제 데이터셋 업로드, Platform 마운트 경로(
/data) 활용 + coco128.yaml 설정 파일 필요
- MNIST 튜토리얼을 먼저 완료하는 것을 권장합니다 (Platform 기본 조작 학습)
- keynet-train 0.8.5 이상 설치 (0.7.4 이상 호환)
- Docker가 설치되어 있고 실행 중이어야 합니다
- YOLO 형식의 데이터셋 (예: coco128)이 준비되어 있어야 합니다
학습 Workflow
- 노란색 박스: YOLO 학습의 핵심 단계 (실제 데이터셋 업로드 + Platform 마운트)
- 파란색: 로컬 작업 (코드 작성, CLI 인증/업로드)
- 주황색: Platform 작업
1. 프로젝트 생성
Platform에서 프로젝트를 생성합니다. 자세한 방법은 MNIST 튜토리얼 1번을 참조하세요.
MNIST와 마찬가지로, 모델은 keynet-train push 명령어가 자동으로 생성합니다.
2. 데이터셋 준비 및 업로드
COCO128 데이터셋 구조
coco128/
├── images/
│   └── train2017/
│       ├── 000000000009.jpg
│       ├── 000000000025.jpg
│       └── ...
└── labels/
    └── train2017/
        ├── 000000000009.txt
        ├── 000000000025.txt
        └── ...
Platform에 업로드
"데이터셋 생성" 버튼을 클릭하여 coco128 폴더를 업로드합니다.
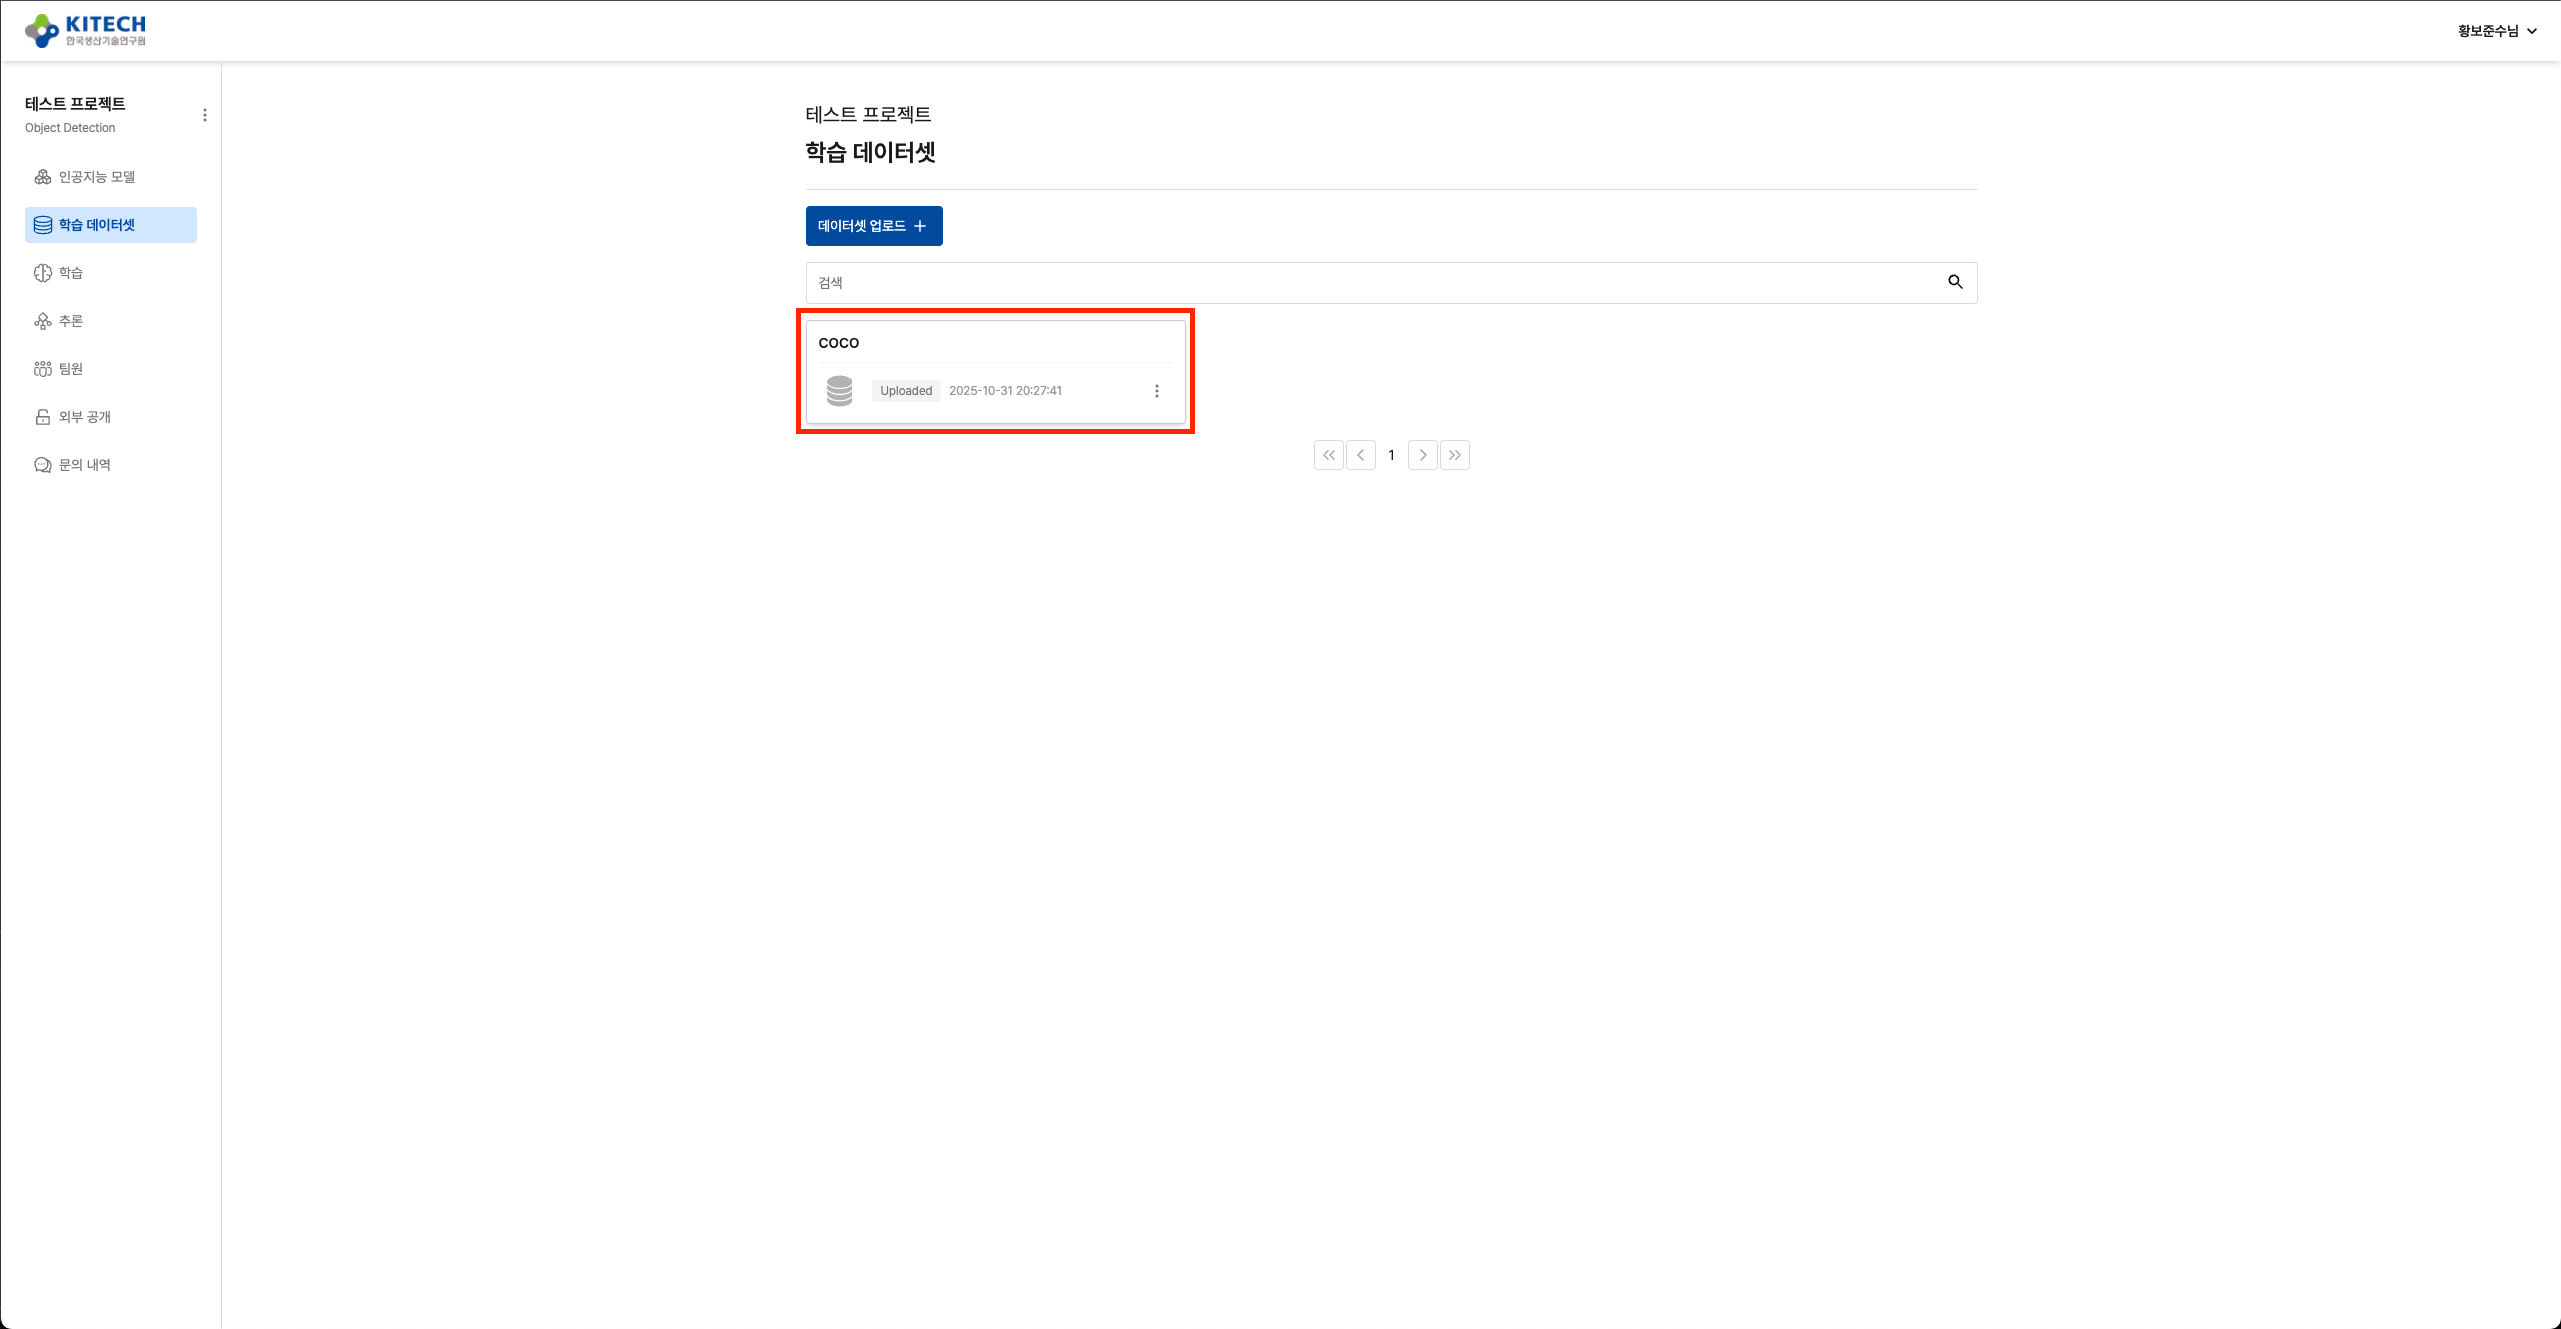
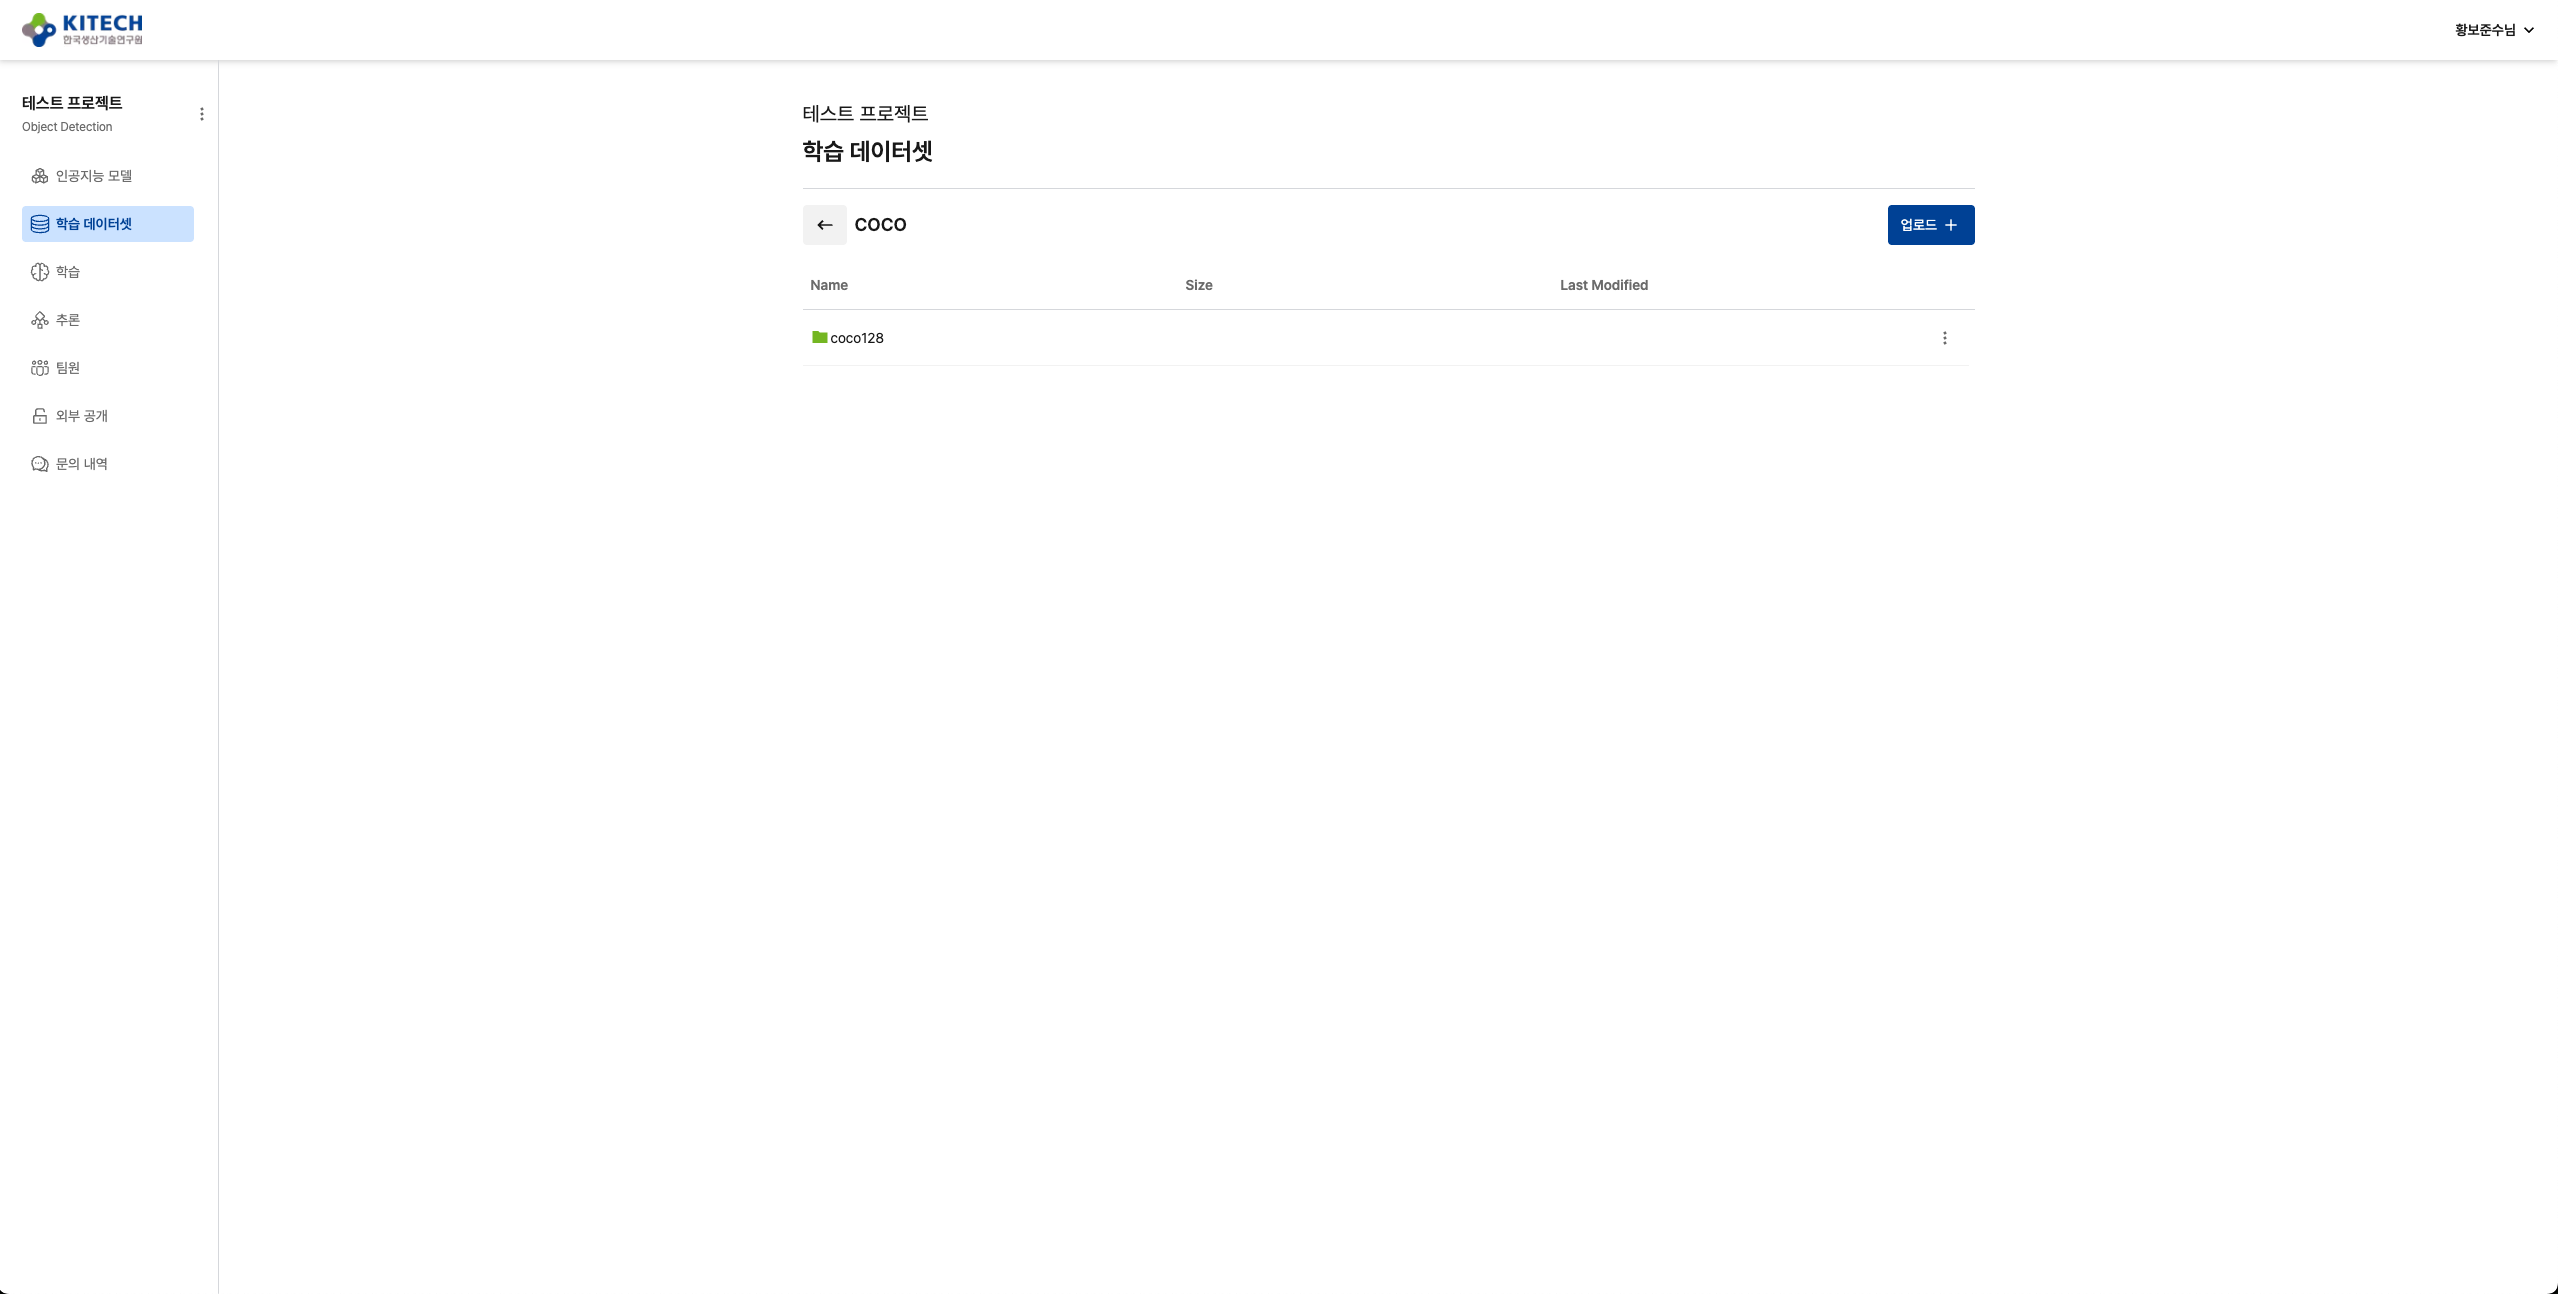
Platform은 폴더를 직접 업로드할 수 있습니다.
마운트 구조:
업로드한 폴더: coco128/
              ├── images/
              │   └── train2017/
              └── labels/
                  └── train2017/

Platform 마운트: /data/coco128/
                 ├── images/
                 │   └── train2017/
                 └── labels/
                     └── train2017/
Platform은 업로드한 폴더 구조를 /data 경로에 그대로 마운트합니다:
- 로컬:
coco128/images/train2017/→ 컨테이너:/data/coco128/images/train2017/ - 로컬:
coco128/labels/train2017/→ 컨테이너:/data/coco128/labels/train2017/
3. 학습 코드 작성
프로젝트 구조
mkdir yolo-tutorial && cd yolo-tutorial
필요한 파일:
yolo-tutorial/
├── train.py           # 학습 스크립트
├── coco128.yaml       # YOLO 데이터셋 경로 설정 ⬅️ MNIST와의 차이점
└── requirements.txt   # Python 의존성
YOLO는 MNIST와 달리 coco128.yaml 설정 파일이 필요합니다. 이 파일은 Platform이 마운트한 데이터셋의 경로를 YOLO에게 알려줍니다.
coco128.yaml
YOLO는 coco128.yaml 파일로 데이터셋 경로를 인식합니다. Platform의 마운트 경로(/data)를 명시해야 합니다:
# 🔑 Platform 마운트 경로 (업로드한 폴더명과 일치)
path: /data/coco128

# Train 경로
train: images/train2017
# Val 경로 (없으면 train과 동일하게 설정 또는 생략)
val: images/train2017

# 클래스 정의
names:
  0: person
  1: bicycle
  2: car
  3: motorcycle
  4: airplane
  5: bus
  6: train
  7: truck
path: /data/coco128: Platform이 마운트하는 고정 경로- 업로드한 폴더 이름과 일치해야 합니다 (예:
coco128/업로드 →/data/coco128) train,val은path기준 상대 경로입니다- coco128은 train2017만 포함:
val도train2017로 설정하거나 YOLO가 자동 split
동작 원리:
- Docker 이미지에
coco128.yaml포함 (/workspace/coco128.yaml) - Platform이 데이터셋을
/data/coco128에 마운트 - YOLO가 yaml을 읽어
/data/coco128/images/train2017접근
requirements.txt
keynet-train==0.8.5
ultralytics==8.3.223
train.py
전체 코드는 다음과 같습니다:
import argparse
import torch
from ultralytics import YOLO
from keynet_train import trace_pytorch


@trace_pytorch(
    model_name="yolo11-coco128",
    sample_input=torch.randn(1, 3, 640, 640),
    base_image="ultralytics/ultralytics:latest"
)
def run():
    parser = argparse.ArgumentParser(description="YOLO11 Training and ONNX Export")
    parser.add_argument(
        "--epochs", type=int, default=100, help="Number of epochs to train"
    )
    parser.add_argument(
        "--batch", type=int, default=16, help="Batch size (-1 for auto)"
    )
    parser.add_argument("--imgsz", type=int, default=640, help="Input image size")
    parser.add_argument(
        "--model",
        type=str,
        default="yolo11n.pt",
        help="Model path or name (yolo11n.pt, yolo11s.pt, etc.)",
    )
    args = parser.parse_args()

    # CUDA 사용 가능 여부 확인 및 디바이스 설정
    device = torch.device("cuda" if torch.cuda.is_available() else "cpu")
    print(f"Using device: {device}")

    model = YOLO(args.model)

    data_yaml = "./coco128.yaml"

    # 모델 학습
    model.train(
        data=data_yaml,
        epochs=args.epochs,
        imgsz=args.imgsz,
        batch=args.batch,
        device=device,
    )

    # ONNX 변환용 torch.nn.Module 객체 반환
    return model.model


if __name__ == "__main__":
    run()
핵심 포인트:
@trace_pytorch: 자동으로 MLflow 로깅 및 ONNX 변환 처리model_name과base_image: CLI가 이를 읽어 Docker 이미지 자동 생성--model: 모델 파일명 직접 지정 (yolo11n.pt, yolo11s.pt, yolo11m.pt 등)data_yaml: coco128.yaml에 Platform 마운트 경로(/data/coco128) 명시return model.model: trace_pytorch가 ONNX 변환에 사용할 PyTorch 모델 반환
4. CLI 인증 및 이미지 업로드
keynet-train CLI를 사용하여 Platform 인증 및 이미지 빌드/업로드를 한 번에 처리합니다.
Platform 로그인
keynet login https://gateway.aiplatform.re.kr
자세한 방법은 MNIST 튜토리얼 3번을 참조하세요.
이미지 빌드 및 업로드
keynet-train push train.py
CLI가 자동으로 다음 작업을 수행합니다:
@trace_pytorch데코레이터에서model_name과base_image추출- Dockerfile 자동 생성 (coco128.yaml 포함)
- Docker 이미지 빌드
- Platform에 모델 생성 (자동)
- Harbor에 이미지 push
자동 생성되는 Dockerfile:
FROM ultralytics/ultralytics:latest
WORKDIR /workspace
COPY . /workspace/
RUN if [ -f requirements.txt ]; then pip install -r requirements.txt; fi
CMD ["python", "train.py"]
CLI는 프로젝트 디렉토리의 모든 파일을 빌드 컨텍스트에 포함하므로, coco128.yaml이 자동으로 Docker 이미지에 포함됩니다 (/workspace/coco128.yaml).
CLI push가 완료되면 모델 생성과 이미지 업로드가 모두 완료된 상태입니다. Platform에서 즉시 학습을 실행할 수 있습니다.
5. 학습 실행
CLI push가 완료되면 모델과 Hyperparameter가 자동으로 생성된 상태입니다. 이제 데이터셋을 선택하고 바로 학습을 실행할 수 있습니다 (MNIST 튜토리얼 5번 참조).
데이터셋 선택 및 학습 시작
- Platform에서 생성된 모델 선택
- 2번에서 업로드한 coco128 데이터셋 선택
- 학습 시작 버튼 클릭
Platform이 코드에서 자동으로 추출한 hyperparameter가 기본값으로 설정되어 있습니다. 필요시 값을 수정할 수 있습니다:
| Parameter | Default | Description |
|---|---|---|
| epochs | 100 | 학습 epoch 수 |
| batch | 16 | Batch size (-1: auto) |
| imgsz | 640 | 입력 이미지 크기 |
| model | yolo11n.pt | 모델 파일명 (yolo11n/s/m/l/x.pt) |
학습이 시작되면 Platform이 자동으로:
- Harbor에서 이미지 pull (최초 1회, 10~20분 소요 가능)
- 데이터셋을
/data/coco128에 마운트 - Hyperparameter를 커맨드라인 인자로 전달
- 학습 실행 및 MLflow 자동 기록
Platform이 업로드한 coco128/ 폴더를 /data/coco128/에 마운트합니다. YOLO는 coco128.yaml을 읽어 /data/coco128/images/train2017에 접근합니다.
실시간 로그 모니터링
Platform의 "학습 정보" 및 "실시간 로그" 탭에서 진행 상황을 확인합니다.
YOLO 예상 로그:
Using device: cuda:0
Loading yolov11n.pt...
🚀 학습 시작...

Epoch    GPU_mem   box_loss   cls_loss   dfl_loss  Instances       Size
  1/100      1.2G      1.234      2.345      1.456         32        640
  2/100      1.2G      1.123      2.234      1.389         32        640
  ...
🔍 Validation 수행...
✅ 학습 완료!
  mAP@50: 0.8234
  mAP@50-95: 0.6543

🔄 Converting PyTorch model to ONNX...
✅ ONNX conversion successful: model.onnx
문제 해결
데이터셋 경로 오류
FileNotFoundError: /data/coco128/images/train2017
원인: coco128.yaml의 경로와 실제 데이터셋 구조 불일치
해결:
coco128.yaml의path: /data/coco128및train: images/train2017확인- Platform에 업로드한 폴더가
coco128/인지 확인 (내부에images/train2017/,labels/train2017/필요)
coco128.yaml을 찾을 수 없음
FileNotFoundError: ./coco128.yaml
원인: coco128.yaml이 Docker 이미지에 포함되지 않음
해결:
- coco128.yaml 파일이 train.py와 같은 디렉토리에 있는지 확인
keynet-train push train.py를 실행한 디렉토리에 coco128.yaml이 있는지 확인
기타 문제
- ONNX 변환 실패: PyTorch 모델이 올바르게 반환되는지 확인 (
return model.model) - GPU 인식 실패: base_image의 CUDA 버전 확인
- keynet-train 관련 오류: MNIST 튜토리얼 참조
다음 단계
- 커스텀 데이터셋: 자체 데이터로 YOLO 학습
- Hyperparameter 튜닝: epochs, batch, imgsz, model 조정하여 최적 모델 탐색
- 모델 배포: MLflow에서 ONNX 모델 다운로드 후 Triton Inference Server 배포